How to Change the Microsoft Office Default Save Location
Changing the Microsoft Office Default Save Location
To change the default location for saved Microsoft 365 files, go into any of the Microsoft 365 apps installed on your PC, then do the following:
- Bring up the document you wish to save.
- Choose File.
- Click Options at the bottom left.
- Select Save.
- Check the box next to Save to Computer by Default under the Save Documents section.
- Add the Default local file location in the box provided. You can choose the Browse button.
- Click OK.
Your default save location has been changed for all of your Microsoft 365 files. From now on, when you want to save a file, it will default to your local drive.

Change Manual Location
You can still manually change the saved location for individual files. You can do so the first time you’re saving a document or subsequent times, depending on your preferences.
To manually change the save location for a document for the first time:
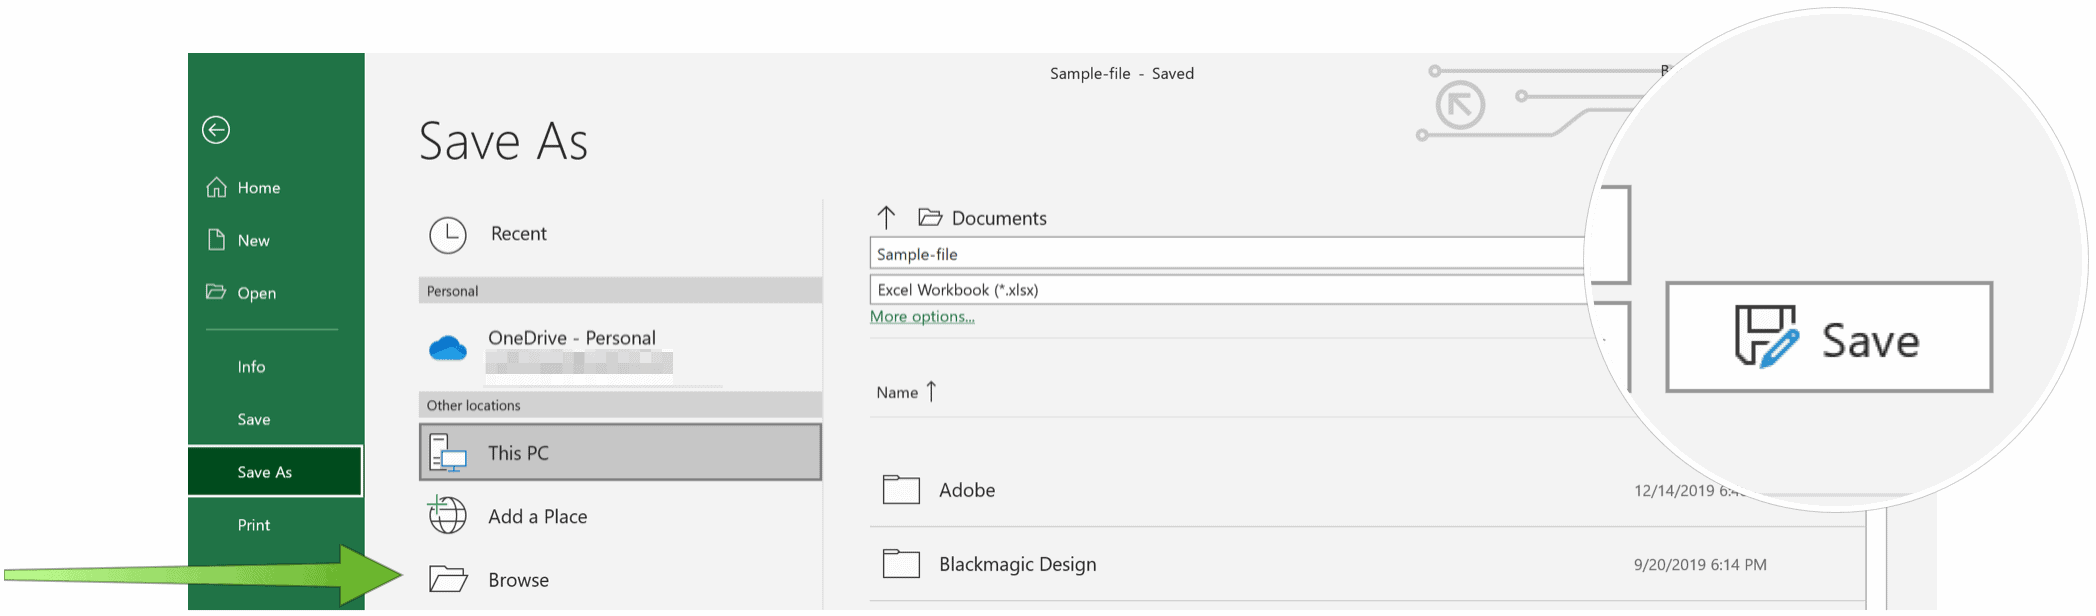
- Bring up the document you wish to save.
- Choose File.
- Select Save.
- Choose the location where you want to save the file.
- Click Save.
Subsequent saves for this file only will occur in the location mentioned above.
 Subsequent saves for this file only will occur in the location mentioned above.
To save an existing file to a new location:
- Bring up the document you wish to save.
- Choose File.
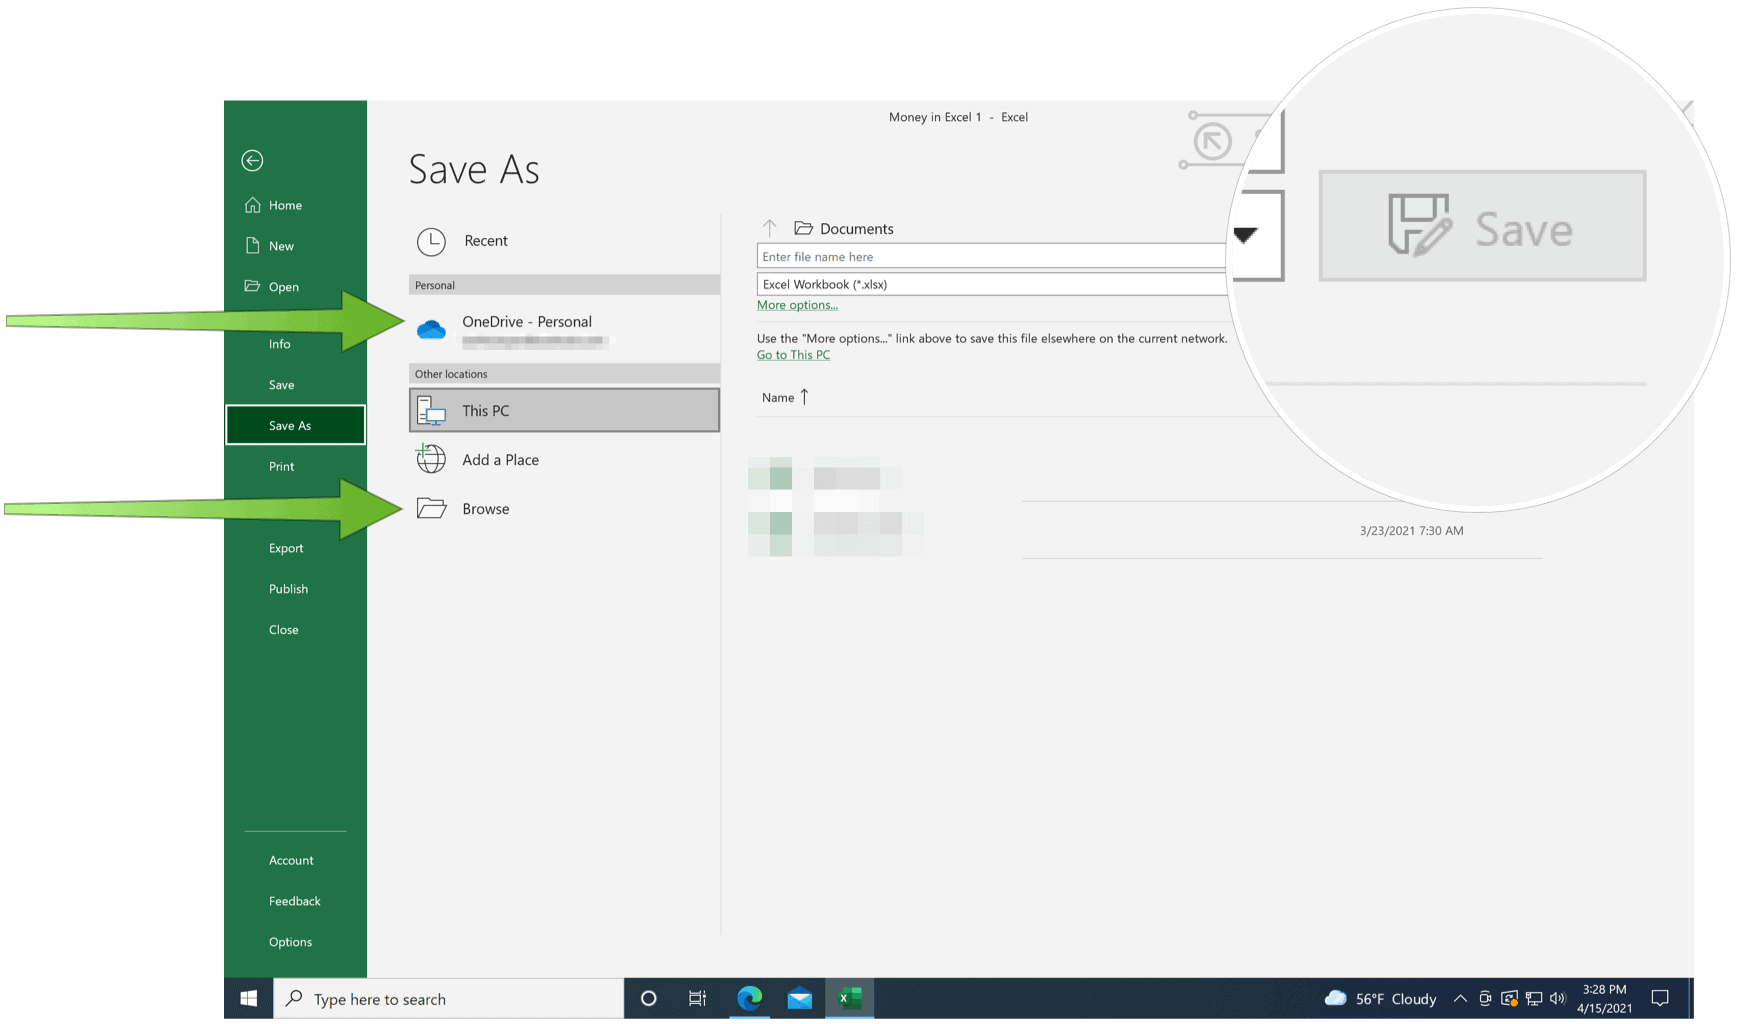
- Select Save As.
- Choose the location where you want to save the file.
- Click Save.
That’s how you change the Microsoft Office default save location on Windows 10. And don’t forget that, starting with Office 2016, there is now the option to autosave documents.


superb
ReplyDelete